
Table of Contents
How to subscribe to Apollo Group TV
Embarking on your Apollo Group TV journey promises a world of unlimited entertainment. But how do you get started? This comprehensive guide will walk you through the entire process of subscribing and activating your Apollo Group TV account, ensuring a smooth and hassle-free setup. Follow these simple steps, and you’ll be enjoying your favorite shows, movies, and live sports in no time.
Step 1: Ensure You Have a Stable Internet Connection
Before anything else, the foundation of a great IPTV experience is a reliable internet connection. Apollo Group TV delivers content via the internet, so a stable and reasonably fast connection is crucial to avoid buffering and enjoy high-quality streaming.
- Recommended Speeds:
- For HD/FHD content: A minimum of 20-30 Mbps is advisable.
- For 4K Ultra HD content: 50 Mbps or higher is highly recommended.
- Check Your Speed: You can easily check your current internet speed by visiting websites like Speedtest.net or Fast.com.
- Wired vs. Wireless: While Wi-Fi is convenient, a wired (Ethernet) connection directly from your router to your streaming device often provides greater stability and consistent speeds, especially for 4K streaming or if your Wi-Fi signal is weak.
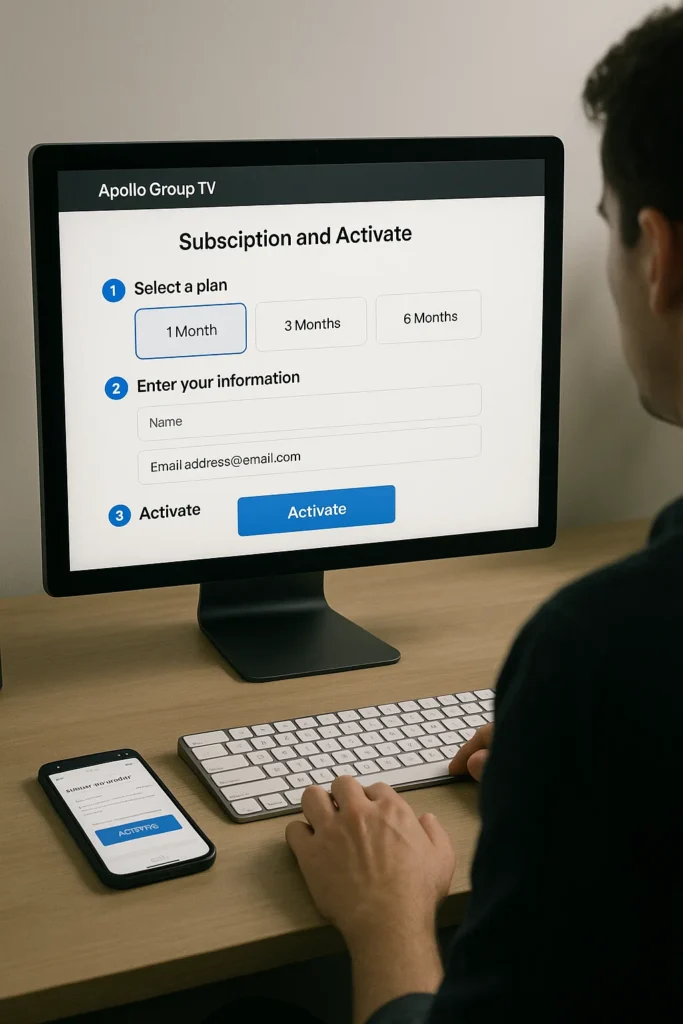
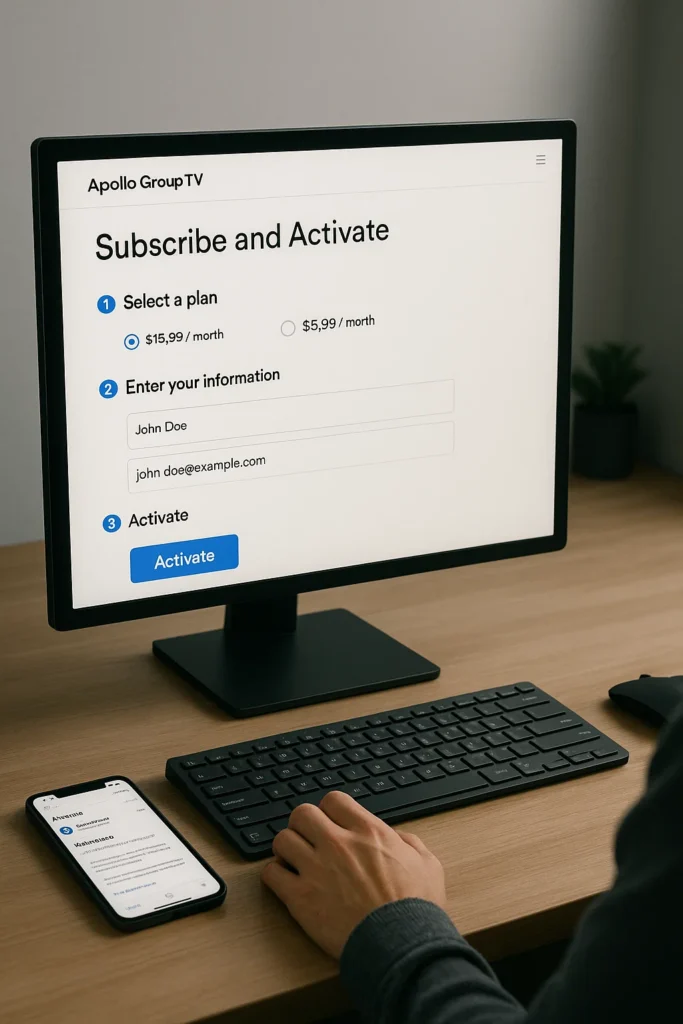
Step 2: Choose Your Subscription Plan
Apollo Group TV typically offers various subscription packages to cater to different needs and budgets. It’s important to choose the one that best fits your viewing habits.
- Visit the Official Website or a Trusted Reseller:
- Go to the official Apollo Group TV website or, in your case, visit ApollgroupTVS.STORE. Purchasing directly from a trusted source ensures you get genuine service and reliable support.
- Browse Available Plans:
- Look for sections like “Pricing,” “Subscription,” or “Packages.”
- Consider the Duration: Most providers offer monthly, quarterly, semi-annual, or annual plans. Longer durations often come with a lower per-month cost, making them more economical if you plan to use the service long-term.
- Check Features: Some plans might offer different numbers of connections (e.g., allowing you to stream on multiple devices simultaneously), access to specific premium content, or additional features like Catch-Up TV or EPG.
- Select Your Desired Plan:
- Once you’ve identified the plan that suits you, click on it to proceed.
Step 3: Complete the Registration and Payment Process
This step involves creating your account and making the payment for your chosen subscription.
- Create Your Account/Provide Details:
- You will usually be prompted to create a new account by providing details such as your email address, a username, and a strong password. Make sure to use a valid email as your login details and important communications will be sent there.
- If you’re already a registered user on ApollgroupTVS.STORE, you might just need to log in.
- Enter Payment Information:
- Proceed to the checkout page.
- Apollo Group TV (or its resellers) typically support various payment methods, including credit/debit cards (Visa, MasterCard), PayPal, or sometimes cryptocurrencies.
- Ensure Security: Always make sure the payment page is secure (look for “https://” in the URL and a padlock icon in your browser’s address bar).
- Confirm Your Order:
- Review your order details – the chosen plan, duration, and total cost.
- Once everything looks correct, confirm your purchase.
- You will receive a confirmation email shortly after a successful payment. This email is crucial as it contains your login credentials (username and password) or an M3U link / Xtream Codes API details, which you’ll need for activation. Keep this email safe!
Step 4: Choose and Prepare Your Streaming Device
Apollo Group TV is highly versatile and works with a multitude of devices. Decide which device you’ll use to access the service. Common choices include:
- Smart TVs (Samsung, LG, Sony, etc.): Many have built-in app stores.
- Android TV Boxes / Android Sticks (e.g., Amazon Fire Stick, NVIDIA Shield): These are external devices that plug into your TV.
- Smartphones & Tablets (Android & iOS): For on-the-go viewing.
- Computers (Windows PC / Mac): Through software or web players.
- MAG Devices: Popular dedicated IPTV boxes.
Preparation for Your Device:
- Smart TVs / Android Boxes: Ensure your device is connected to the internet and has access to its app store.
- Fire Stick: Plug it into your TV’s HDMI port and connect it to Wi-Fi. Ensure “Apps from Unknown Sources” is enabled in Developer Options if you plan to sideload apps.
- Smartphones/Tablets: Ensure they are connected to Wi-Fi or mobile data.
- Computers: Ensure you have a web browser (Chrome, Firefox, Edge) or are ready to download a specific application.
Step 5: Install and Configure Your IPTV Player Application
This is where you’ll use the login details or link you received in your confirmation email. You’ll need an IPTV Player app to watch Apollo Group TV. While some providers might have their own branded app, many recommend or are compatible with popular generic IPTV players.
- Download the Recommended App:
- For Android Devices (Android Boxes, Fire Sticks, Android Phones/Tablets): Popular choices include “IPTV Smarters Pro,” “GSE Smart IPTV,” “TiviMate” (premium for full features), or sometimes the provider’s custom app. Search for these in your device’s app store (e.g., Google Play Store for Android, Amazon Appstore for Fire Stick).
- For Smart TVs: Look for apps like “Smart IPTV” (SIPTV), “SS IPTV,” or other compatible players in your TV’s app store. Note: Some Smart TV apps may require a one-time activation fee directly to the app developer.
- For iOS Devices (iPhone/iPad): Search for “IPTV Smarters Pro” or “GSE Smart IPTV” in the Apple App Store.
- For PCs: You can use software like VLC Media Player (which can play M3U links), or dedicated IPTV players like “IPTV Smarters Pro” desktop version.
- Launch the App and Enter Your Credentials:
- Once the app is installed, open it.
- You will typically see options to “Load Your Playlist”, “Add User,” or similar.
- Choose Your Method:
- Xtream Codes API: This is often the easiest and most recommended. You’ll enter a Server URL, your Username, and your Password (all provided in your confirmation email).
- M3U URL: If you received an M3U link, you’ll select the option to load a URL and paste the full M3U link there.
- M3U File (less common for initial setup): If you downloaded an M3U file, you’d select this option and navigate to the file on your device.
- Name Your Playlist: Give your connection a name, e.g., “Apollo Group TV.”
- Save/Add User: Click the “Add User” or “Save” button to complete the configuration.
Step 6: Explore and Enjoy Your New Entertainment World!
Congratulations! Your Apollo Group TV account should now be activated and configured on your chosen device.
- Content Loading: The IPTV player app will now connect to Apollo Group TV’s servers and load all the channels, EPG data, and VOD library content. This might take a few moments on the first load, depending on your internet speed and the size of the library.
- Navigate the Interface:
- Live TV: Browse through the vast array of live channels, categorized for your convenience.
- VOD (Video On Demand): Dive into the extensive library of movies and TV series.
- EPG (Electronic Program Guide): Check schedules for upcoming shows and plan your viewing.
- Favorites: Don’t forget to mark your favorite channels and VOD titles for quick access later.
- Start Watching: Select any channel or VOD title, and enjoy the high-quality streaming experience.
Troubleshooting Tips for a Smooth Setup
- Double-Check Everything: The most common errors are typos in usernames, passwords, or M3U URLs. Copy-pasting is always recommended.
- Internet Connection: If content isn’t loading, ensure your device is properly connected to the internet and your speed is adequate.
- Restart App/Device: Sometimes, simply closing and reopening the IPTV player app, or even restarting your streaming device, can resolve minor glitches.
- Firewall/VPN Issues: If you’re using a VPN or have a strict firewall, temporarily disable them to see if they are interfering with the connection.
- Contact Support: If you encounter persistent issues, don’t hesitate to contact the customer support of Apollo Group TV or the reseller (ApollgroupTVS.STORE). Provide them with as much detail as possible about the problem and any error messages you receive.
Conclusion: Your Entertainment Journey Begins Now
Subscribing and activating your Apollo Group TV account is a straightforward process that opens the door to an unparalleled entertainment experience. By following these step-by-step instructions, you’ll quickly move from setup to enjoying a vast world of live channels, movies, and TV series on demand. Get ready to transform your viewing habits and dive into the future of television with Apollo Group TV!
- 🔗 Free Trial – Apollo Group TV
- 🔗 Subscription Plans
- 🔗 Compatible Devices
- 🔗 Apollo Group TV FAQ
- 🔗 Contact Us